How to Use an iMac as an External Display Effectively
 DIY・Gadjet
2023.02.10
Hello! My name is Dr. Saito.
In this article, I will explain how to use an iMac as an external display effectively!
If you read this article…
・You will learn how to use your iMac as an external display!
・You can use your old iMac effectively!
・You can turn your MacBook into a desktop with iMac!
この記事を書いた人

医師:消化器外科医(外科専門医)→フリーランス内科・在宅診療医に転向。
Dr.さいとーの雑記ブログ「Give &Giブログ」で情報発信中。
資格:FP3級、簿記3級 宅建
2021年8月 マイクロ法人設立
自分の経験から皆様のお役に立てる情報をお届けいたします。
よろしくお願いします!
How to Use an iMac as an External Display Effectively

Advantages and Disadvantages of Using iMac as an External Display
Advantages!
・You can reuse your old iMac.
・You can use the iMac’s large 27-inch screen with high image quality.
・The latest OS can be used inside in clamshell mode.
Disadvantages
・Requires an old iMac.
・Cost from 10,000 yen to set up an environment other than a PC.
・Keyboard and mouse need to be connected via Bluetooth when starting up.
Who is Recommended to Use an External Display for iMac?
▶People who have an older iMac that was initially compatible with the system
▶People who love the design of iMac
Compatible iMacs
Let’s look at how to convert your iMac to an external display!
iMac is a desktop PC, but some older iMacs can be used as an external display.
This mode is called Target Display Mode.
Supported models are
The above iMacs can be purchased on flea market sites for about 10,000 to 40,000 yen.
 When was the last time I booted it?
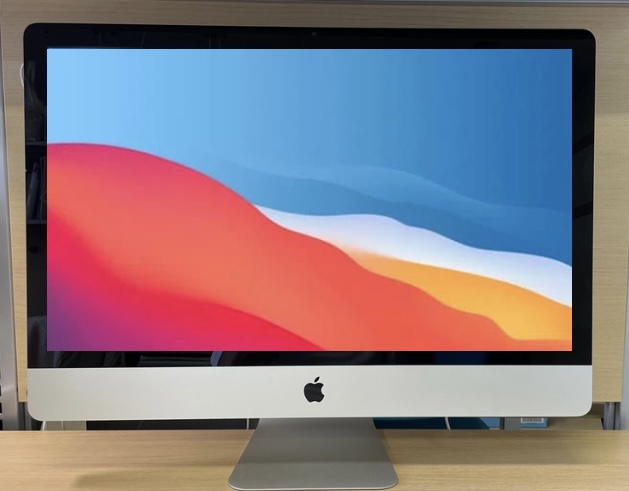
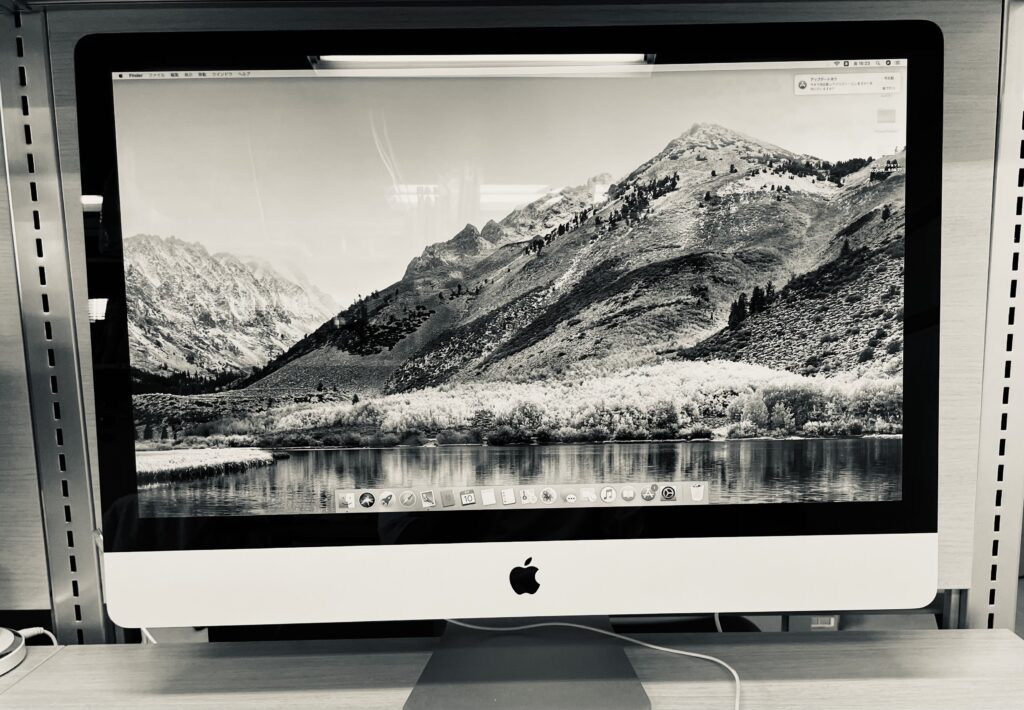
I used the iMac (27″, Mid 2010), and OS was Sierra.
I updated the OS from Sierra to High Sierra.
In addition, I gave the display a good polish, and the display was still clean!!
The bezel (outer frame of the screen) is thick, but that makes it look so retro!
The design is as expected from Apple, and it doesn’t feel like it’s been more than 10 years!
Requirements for PC to be Connected
On the other hand, the PC I used is a MacBook Air (M1, 2020) macOS Big Sur.
Apple officially states.
But it worked on a 2020 MacBook Air macOS Big Sur.
How to Connect
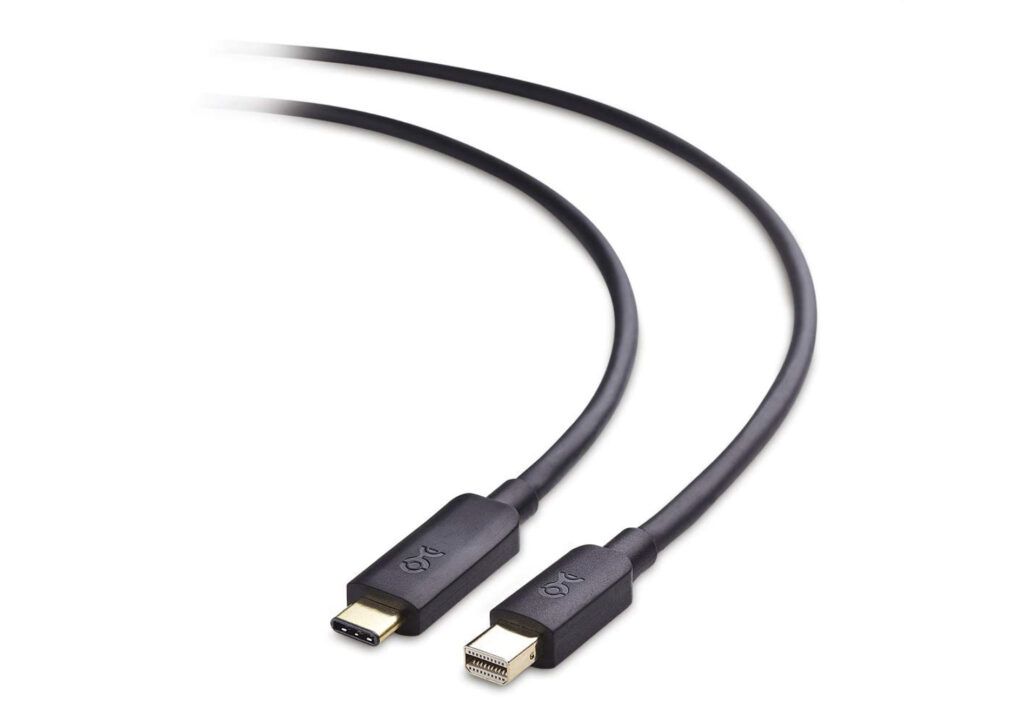
Connect the two PCs with a Thunderbolt /Thunderbolt 2 cable.
(*Please note that you cannot use an HDMI cable for a standard external display.)
I used this cable.
Cable Matters USB C to Mini DisplayPort Conversion Cable
 Cable Matters USB C to Mini DisplayPort Conversion Cable
Another method is to connect the Apple Thunderbolt 3 (USB-C) to Thunderbolt 2 adapter and connect the Thunderbolt 2 cable from there.
Connect the Thunderbolt port of the cable to the Mini DisplayPort on the iMac and the USB type-C port to the MacBook.
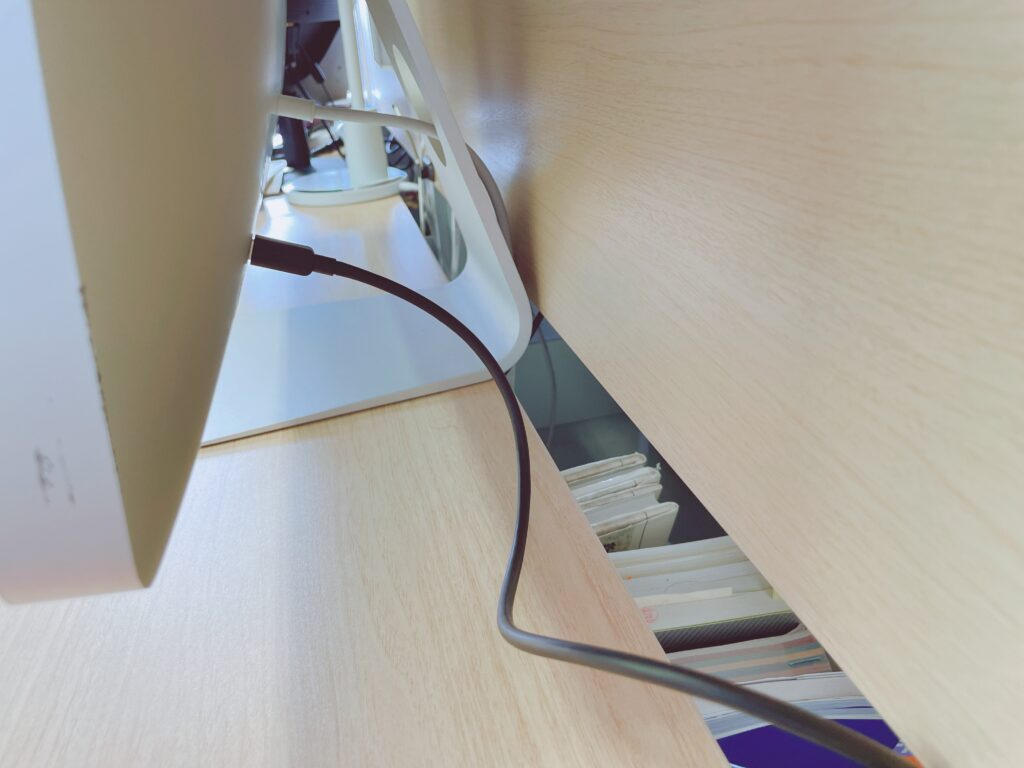
After the connection is complete, press “command + F2” on the iMac keyboard to display the MacBook desktop.
How to Use iMac in Clamshell Mode
Clamshell mode is a method of displaying the screen on the iMac while the MacBook is closed.
Once you have clamshell mode, you no longer need to keep your MacBook open and can better use your desk.
The following explains how to use iMac in target display mode and MacBook in clamshell mode.
How to use in clamshell mode
1. Set the Target Display Mode
2. Connect the Power Cable to MacBook(with caution)
3. Connect the Keyboard and Mouse to MacBook via Bluetooth
4. Close the MacBook
1. Set the Target Display Mode
The method is as described above.
Connect the conversion cable and press “command + F2” on the iMac keyboard.
2. Connect the Power Cable to MacBook(with caution)
To use clamshell mode, MacBook needs to be powered.
You can connect the power cord to MacBook, but there is a caveat.
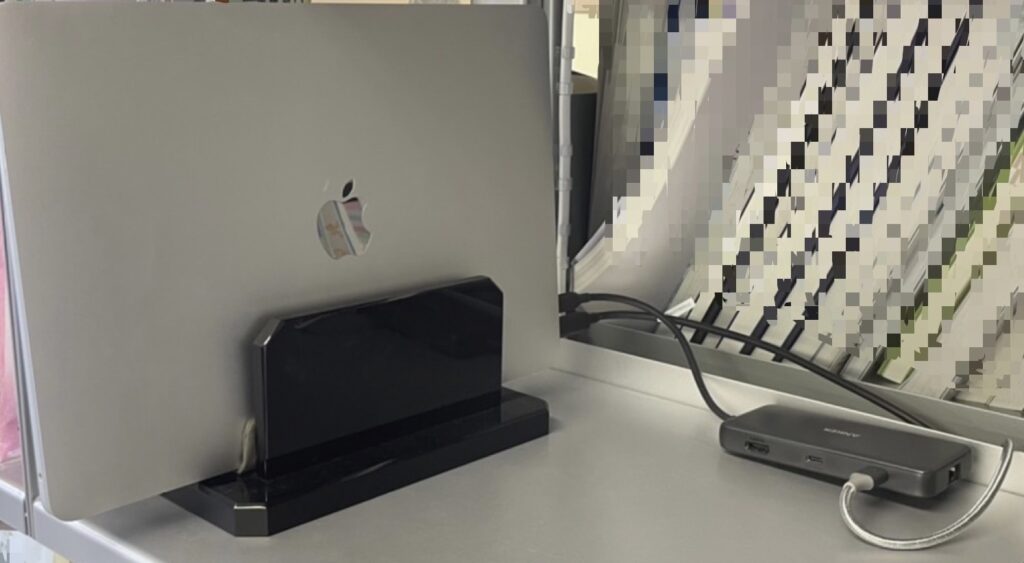
That is, you need to connect both the USB-C port for video output and the USB-C port for power supply to MacBook.
In other words, MacBook air cannot expand other terminals.
I used various hubs, but could not make a single cable.
If you use the input terminal from the iMac to the hub,
you will not be able to output images.
So what you need is a hub that can expand while supplying power!!
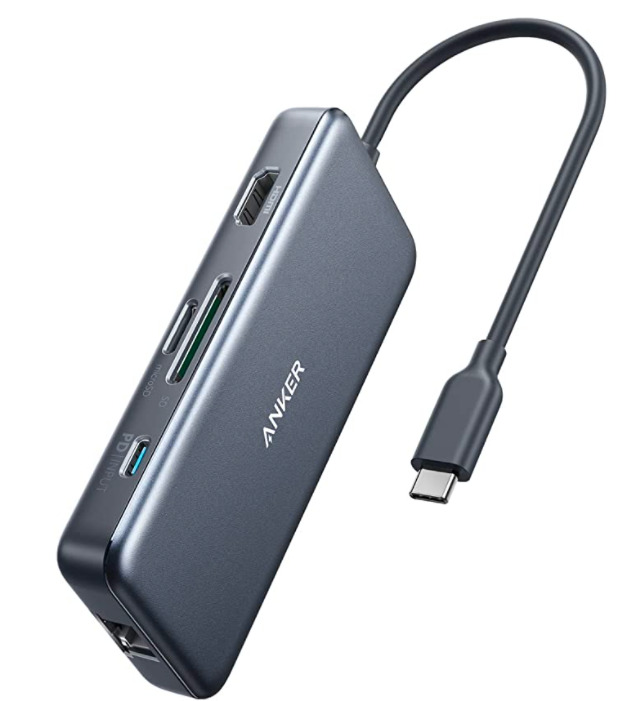
Anker PowerExpand+ 7-in-1 USB-C PD Ethernet Hub
 Source: Amazon.co.jp
This hub can expand USB-C while supplying power!!
3. Connect the Keyboard and Mouse to MacBook via Bluetooth
You will need a Bluetooth keyboard and trackpad or mouse to connect to your MacBook.
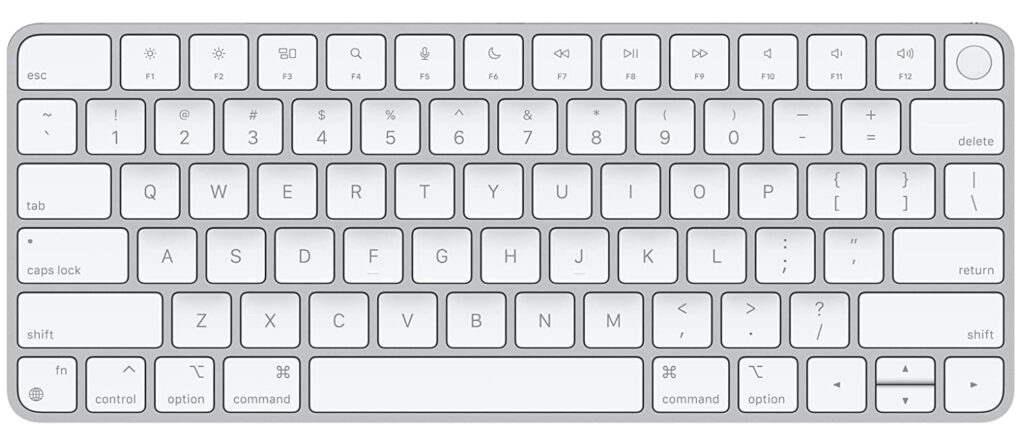
I recommend Apple’s genuine Magic Keyboard and Magic Trackpad.
The design is very simple and, of course, works great with iMac.
Magic Keyboard(US)
 Source: Amazon.co.jp
Apple Magic Trackpad
 Source: Amazon.co.jp
4. Close the MacBook
When you have completed the settings up to this point, close your MacBook.
If the iMac screen does not disappear when you close MacBook, the clamshell mode is complete.
How to “Start” Clamshell Mode
How to Start Clamshell Mode
1. Turn on the iMac.
2. Connect the keyboard to the iMac and enter the password to log in to the iMac.
3. Type “command + F2” on the wired keyboard to display the MacBook screen on the iMac.
4. Disconnect the wired keyboard, connect the keyboard and trackpad to the MacBook via Bluetooth, and log in to the MacBook.
Note that you must first connect the keyboard and mouse to the iMac to log in and switch screens.
After that, you need to switch the connection to MacBook via Bluetooth.
(You may have to disconnect the Bluetooth connection for the keyboard once.)
Connect to iPad
Can I connect my iMac to my iPad in “Target Display Mode,” and can I use it?
It can be used for mirroring only.
(PS: Not sure if external display expansion is possible with an iPad with an M1 chip…)
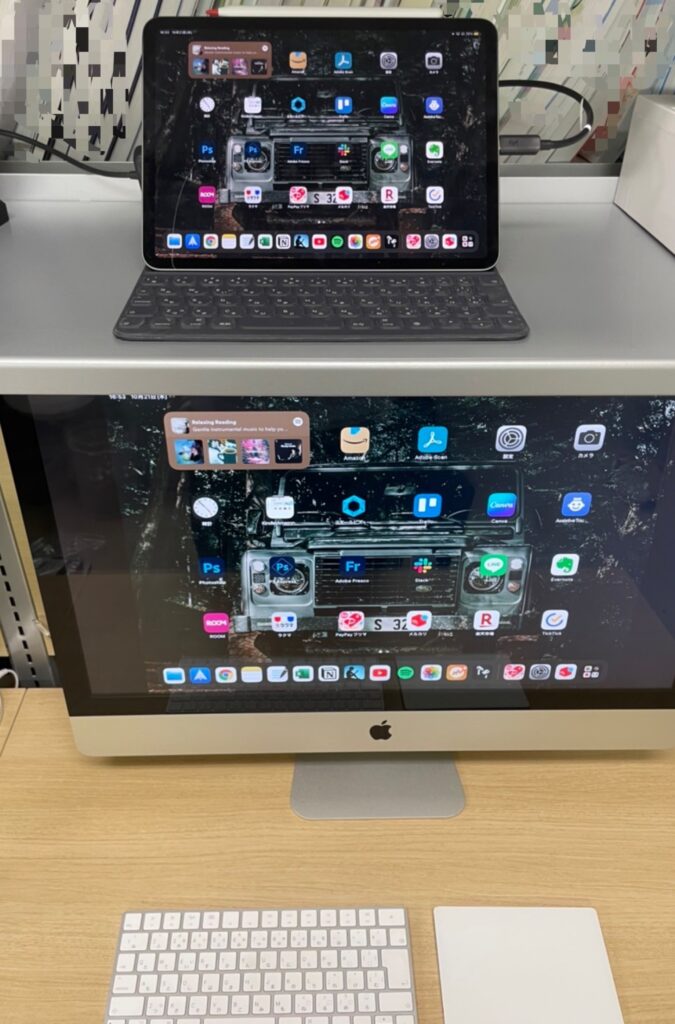
The iPad is convenient to use without the need for a power supply.
It is convenient when using iPad-specific apps on a large screen.
【DIY】How to Use an iMac as an External Display Effectively : Summary

This time, I was able to reuse a scrap iMac that was in my office.
I hope everyone will use the iMac effectively by referring to this article!
I will continue to post articles on DIY that is easy on your wallet and the environment in my blog.
I find this blog useful!
I want to ask you a question!
For those readers who find it so, please feel free to comment below the related articles!
That’s all for now!
タイトルとURLをコピーしました


コメント
iMacを外部モニターに接続したく、ネット検索しこの投稿に辿り着き参考にさせていただきました。
不躾ではありますが、ご教授できる範囲でコメントをいただけたら幸いです。
MacBook Air(2022年 M2 Ventura13.3)
iMac(2011年 HighSierra 10.13.6)
Apple公式サイトでは接続できないとのことですが、なんとか古いMacをを活用したいと考えおります。
iMac =FireWire 800ポート × 1(7W)、Thunderboltポート × 2
Mac Air=Thunderbolt / USB 4
だいすけさん
ブログをご覧いただき、またコメントをいただきありがとうございます。
iMacの条件はクリアしているようですね。
あとはMacBook airの仕様ですね。
私のMacBook (M1 Big Sur)も公式で対応してなかったのですが、Thunderboltケーブルでつないでみると接続に成功しています。
Thunderboltケーブルを一度試してみてはいかがでしょうか。